
Getting started with grubOne involves three key steps:
-
Activating your account
-
Configuring the application based on your operational needs
-
Using quick login options for faster access in future sessions
This article will walk you through each step to ensure a smooth onboarding experience.
1. Activating Your grubOne Account
When launching grubOne for the first time, you will be prompted to grant permission for the application to collect performance and usage data. This helps improve system performance and user experience.

After granting permission, proceed with account activation by signing in and selecting your assigned location.
This step ensures that grubOne is connected to the correct outlet or kitchen.
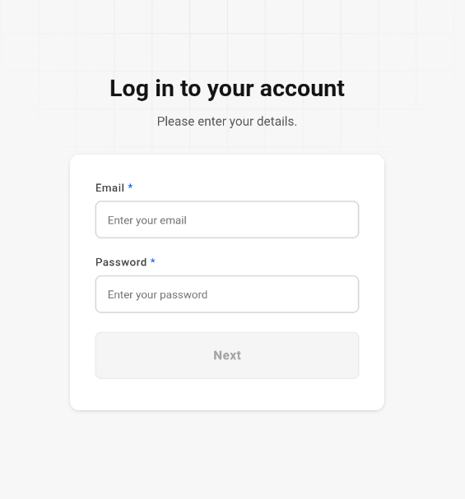
Steps to Activate Your Account
-
Open the grubOne app
-
Enter your email and password, then tap Next
- Select your assigned location from the list
- Tap Next to complete activation

Important
Order SDK must be enabled for grubOne to receive orders.
The Grubtech Support Team will assist in enabling this configuration.

Note 💡
-
If your account is linked to only one location, it will be selected automatically.
2. Configuring grubOne (Initial Setup)
Steps to Configure
Order Display Preferences
-
Select your preferred order sorting:
-
Ascending (Oldest → Newest)
-
Descending (Newest → Oldest)
-
-
Choose your order card layout:
-
Tile Fill View
-
Split View
-

Operational Settings
-
Set the scheduled order reminder time (15–60 minutes)
-
Enable or disable Auto Start for accepted orders
Save Configuration
-
Click Save to apply changes
-
A confirmation message will appear upon successful update
Notes 💡
-
You may skip the setup if needed; default settings will be applied automatically
-
All configurations can be updated later via General Settings

3. Logging In After Logging Out
Once your account is activated, future logins are designed to be quick and convenient.
You can log in using either:
-
PIN (recommended for faster access)
-
Password

Alternatively, from this screen, you also have the option to switch to a new user account if needed. (Refer: Switching Accounts in GrubOne)
Login Using PIN
Steps
-
Open the grubOne app
-
Enter your 4-digit PIN
-
You will be logged in immediately upon successful validation
Note💡: After 5 consecutive incorrect PIN attempts, the user will be required to log in using email and password.
Login Using Password
Steps
-
Open the grubOne app
-
Select your saved profile
-
Tap Password
-
Enter your password and tap Log In
-
You will be logged in upon successful authentication
💡 Note: If your account is not assigned to any location, you will not be able to access grubOne.
Next Article: